

DoseGear field guides
DG Guides / 04 sections
DG Guides / How To.
Calculate with clarity. Stay organized. Prepare with care.
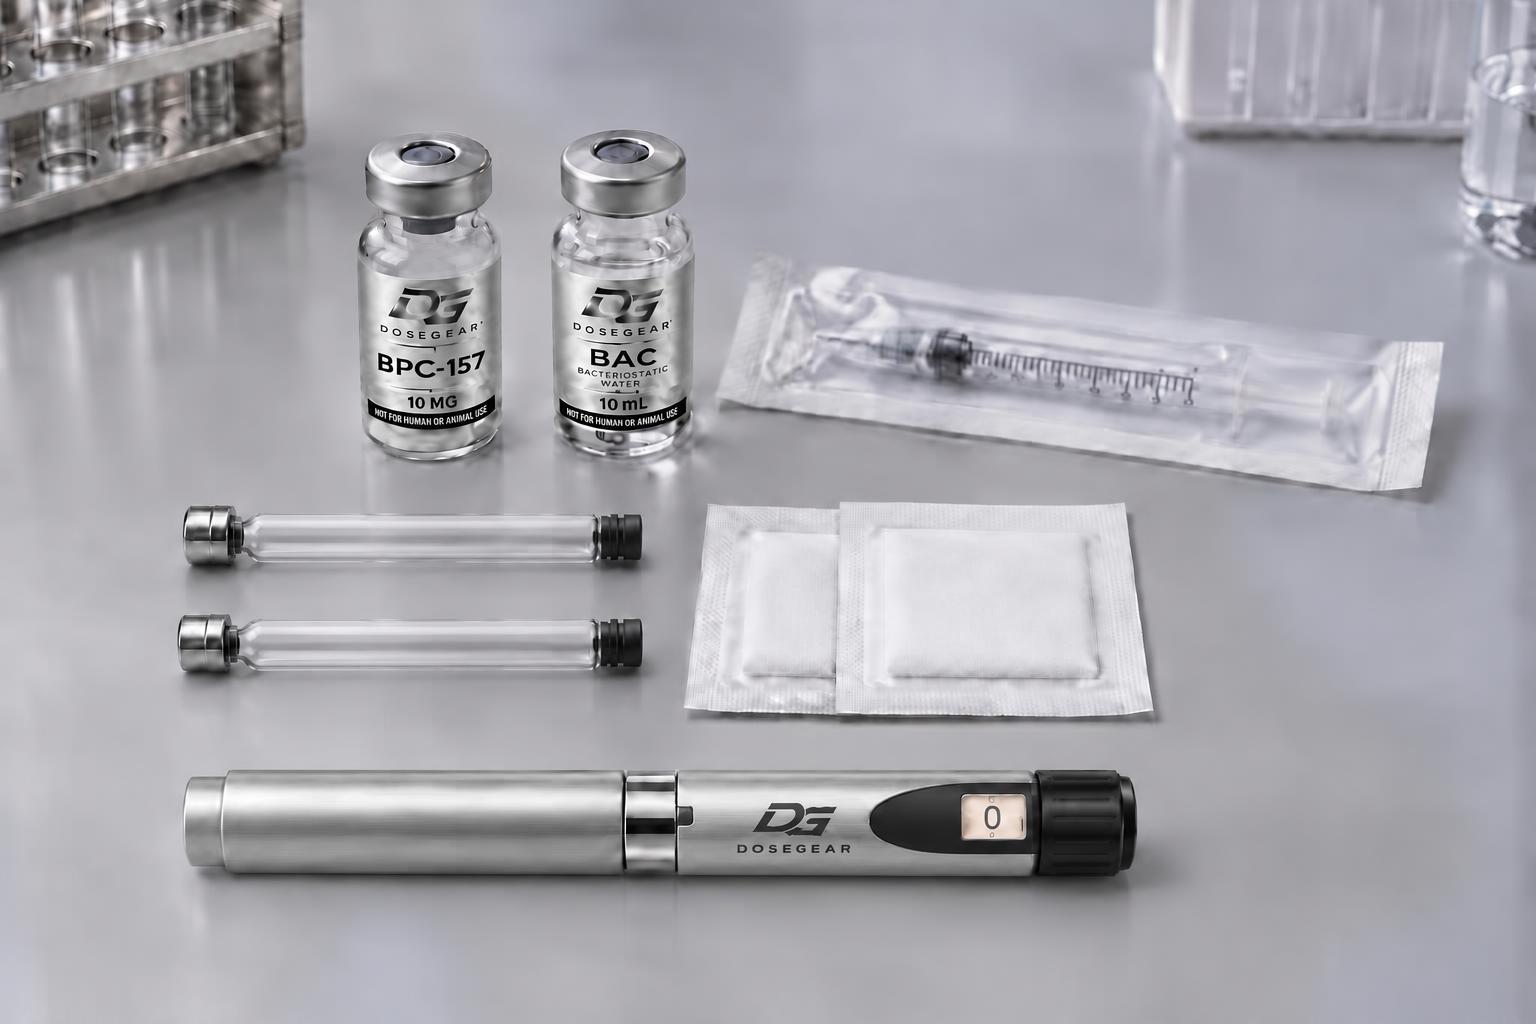
Research education only. Always follow product-specific documentation and your laboratory’s validated procedures.
01
How to use DG Calculator
Start with the label on your vial. Finish with a transparent concentration and draw-volume calculation.
Open DG CalculatorCalculated result
Concentration → mL → U-100 units
- 1
Choose your setup
Open DG Calculator. Choose a single vial or custom blend, or load a blend preset. Confirm each peptide name.
- 2
Match the vial contents
Choose the vial amount in mg for each component. For a blend, enter each ingredient’s individual mass—not the total blend mass. Verify every value against the actual label.
- 3
Confirm the diluent and research amount
Set Total BAC Water to the volume specified by your validated research procedure, only when BAC Water is a compatible diluent. Review a protocol reference or enter your research amount, checking mg versus mcg. For a blend, select the component the amount applies to.
- 4
Read and check the result
Choose the syringe capacity that matches your U-100 syringe. Review the calculated mL, U-100 units and component amounts. A reference or automatic default is not a preparation instruction; independently verify inputs before laboratory use.
Before you proceed. Syringe units measure volume, not peptide mass. The displayed unit conversion is for U-100 syringes only; do not apply it to pen clicks or other syringe scales.
02
How to use DG Dose Tracker
Keep your chosen research schedule, calendar and records together in your private account.
Open DG Dose TrackerYour saved research schedule
Components · time · frequency
- 1
Sign in and create a schedule
Open DG Dose Tracker and sign in. Select New protocol for a single compound or Build stack for multiple components.
- 2
Enter your research details
Name the protocol and review each component, amount and unit. Quick-load choices are editable starting points; the tracker records the procedure you chose, not a recommended amount.
- 3
Set the dates and reminders
Choose Frequency, Schedule time and Start date. Add an optional End date and notes, then enable Show in-app reminders if wanted. Save protocol and review the Calendar. Schedules use your device time.
- 4
Review, log and maintain
Use Today or Calendar to mark an item taken or skipped. Check History to review records; use Undo if an entry was accidental. Open Protocols to edit a schedule or make it inactive when it is no longer needed.
Before you proceed. Your records stay private to your account. Reminders appear inside the tracker; no email or push notification is sent.
03
How to reconstitute your peptides
A general laboratory checklist for lyophilized research vials—not a substitute for a product-specific procedure.
- 1
Verify the product-specific procedure
Confirm identity, vial mass, expiry, required diluent, compatibility and target concentration from the supplier’s documented instructions or your laboratory’s validated procedure. Do not assume every peptide is compatible with BAC Water.
- 2
Prepare a clean workspace
Follow your laboratory’s aseptic procedure. Inspect the vial and diluent for damage, and use appropriate sterile, single-use transfer equipment. Disinfect vial septa and allow them to dry before access; do not touch disinfected surfaces.
- 3
Add the specified diluent gently
Measure the validated diluent volume and transfer it slowly as directed by the product procedure, avoiding forceful contact with the powder when instructed. Gently swirl if permitted; do not shake unless the documented procedure specifically calls for it.
- 4
Inspect, label and store
Allow dissolution as directed. If appearance differs from the product specification, stop and consult the supplier. Label with identity, concentration, diluent and preparation date. Follow the product’s documented storage and use-by limits—there is no universal shelf life.
Vial pressure equalization.
How and why.
A sealed vial can have pressure above or below the surrounding air. A vacuum may pull diluent in unexpectedly; positive pressure may resist transfer or push liquid back. Controlled pressure management can make transfer smoother and reduce the risk of splashing, foaming or loss of solution.
01
Check whether it is required
Some lyophilized vials intentionally retain a vacuum. Follow the product instructions—do not vent every vial automatically or assume the same air volume is appropriate for every transfer.
02
Use the specified method
When the procedure calls for equalization, use a compatible sterile filtered vent or closed transfer device rated for that purpose. Disinfect the septum, let it dry and connect the device as its manufacturer directs.
03
Stop if transfer is uncontrolled
Do not force the plunger, inject an arbitrary amount of air, remove the stopper or leave an open needle in the vial. If no method is documented, ask the supplier or a qualified laboratory professional.
Equalizing pressure does not sterilize the contents or improve chemical stability.
B. Braun — filtered ventingB. Braun — vented reconstitution device
DG Reconstitution Field Guide
Eight illustrated steps · One-page PDF · Research education
Before you proceed. The calculator checks arithmetic, not identity, purity, sterility or stability. Preparation does not make a research-only product suitable for human or animal use.
04
How to fill a pen cartridge
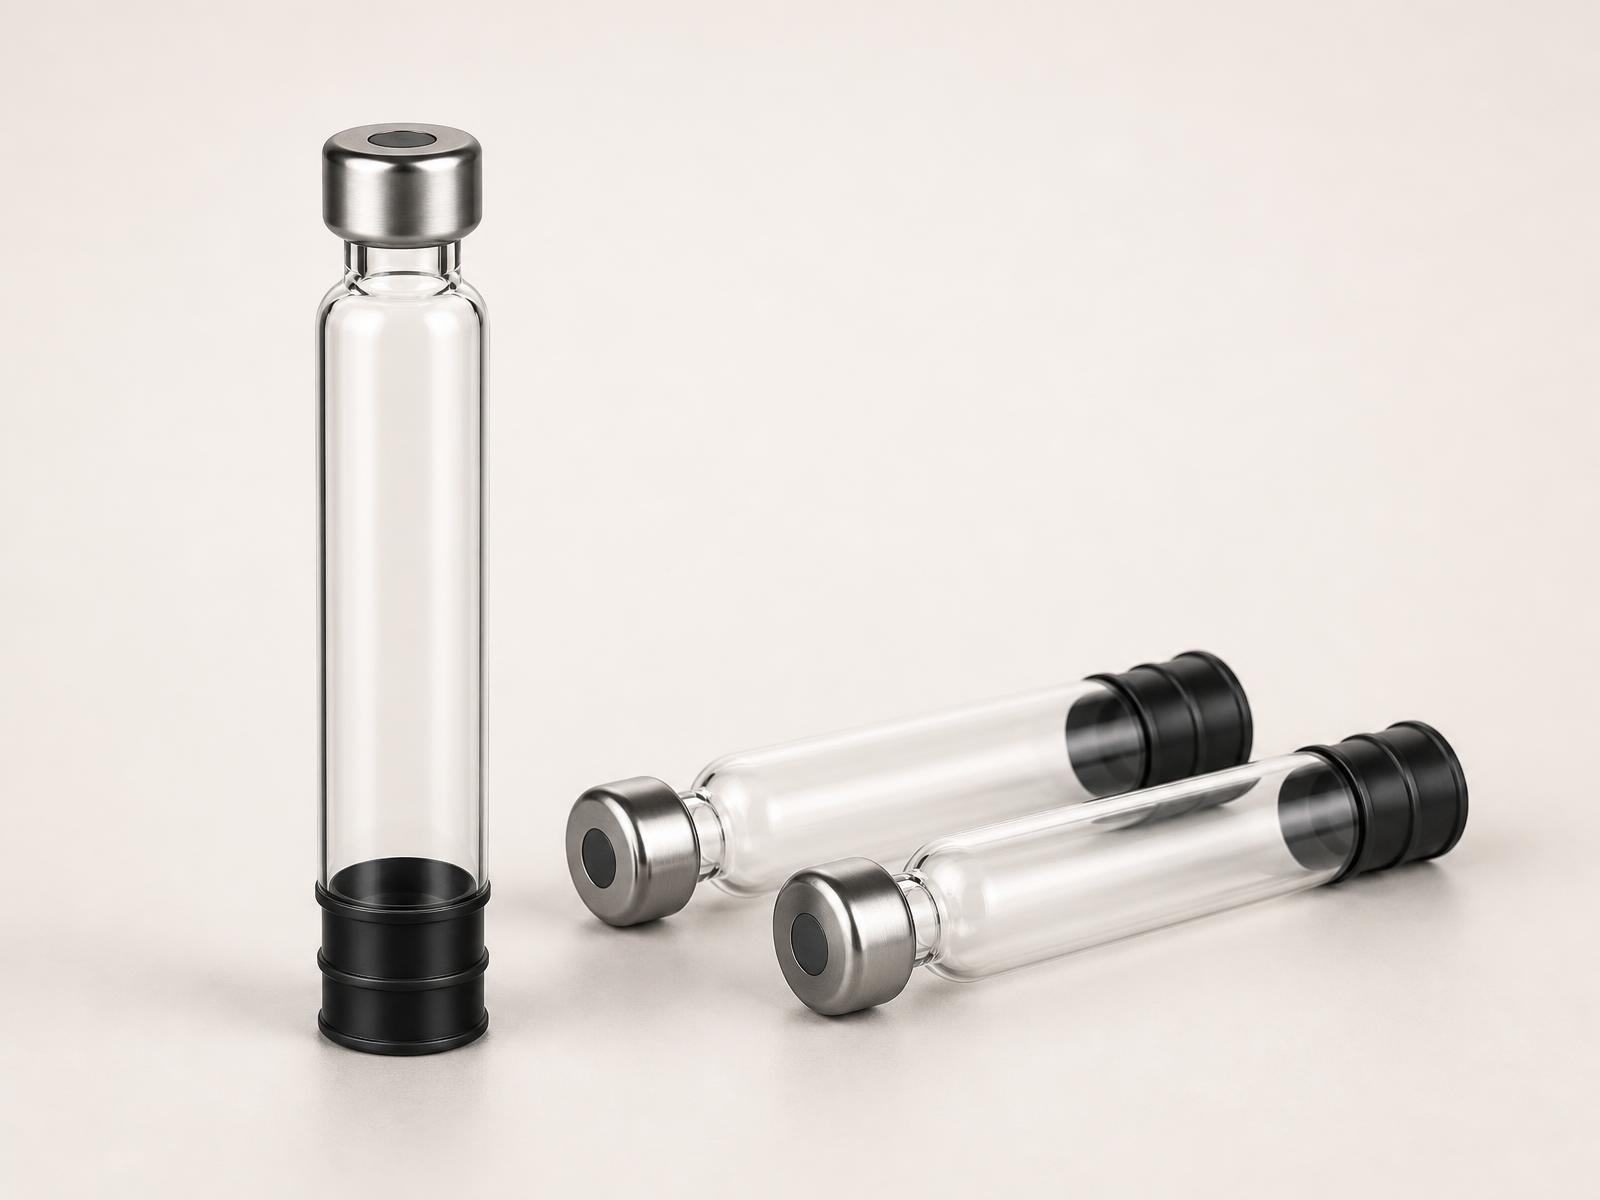
Follow these eight steps only with the compatible RefillPen filling system and its matching components. This third-party reference is not a universal cartridge procedure or a verified DoseGear cartridge filling manual.
- 1
Work without rushing
Take your time. Set out the matching components and do not rush the filling process.
- 2
Swab the cartridge top
Swab the top of the glass cartridge with an alcohol prep pad. Follow your laboratory’s aseptic procedure and let the prepared surface dry.
- 3
Insert the luer lock
Insert the compatible luer-lock filling fitting into the glass cartridge as directed by the RefillPen system instructions.
Enter through the center of the top and angle the needle toward the glass wall. - 4
Hold the cartridge upright and firm
Stand the cartridge upright on its rubber stopper and hold it firmly on a stable surface, or secure it in a compatible Halo cartridge filler.
- 5
Remove excess transfer-needle air
Before inserting the transfer needle into the cartridge, remove excess air from the needle so additional air is not added during transfer.
- 6
Fill slowly and allow air to vent
SLOWLY fill the cartridge with liquid. Do not rush: air needs time to vent out through the luer lock.
Fill slowly so liquid runs down the wall and air vents out through the top fitting. - 7
Wait 15 seconds after filling
Once the liquid is in, keep the cartridge upright and firm on the surface or in the Halo filler for 15 seconds so air can release. This helps prevent back pressure from pushing the rubber stopper out of the back.
- 8
Check for remaining pressure
Following the RefillPen instructions, pick up the cartridge with a clean finger supporting the gray rubber stopper. Confirm the stopper is not pressing outward against your finger. If it is, pressure remains; insert the luer lock as directed to release it.
DG Cartridge Filling Field Guide
Eight illustrated steps · Two-page PDF · RefillPen-system reference
Before you proceed. Use this sequence only for the compatible RefillPen system. Do not force the plunger, overfill or improvise a vent. Stop if pressure or stopper movement seems abnormal. Research education only; no injection instructions are provided.
Adapted from RefillPen.com. Product names belong to their respective owners; inclusion does not establish DoseGear compatibility.